Solving STEM Retention in Online Programs: Experiential Learning That Works
In partnership with WCET, higher education leaders and practitioners explore how experiential learning is transforming the design and delivery of online STEM courses.

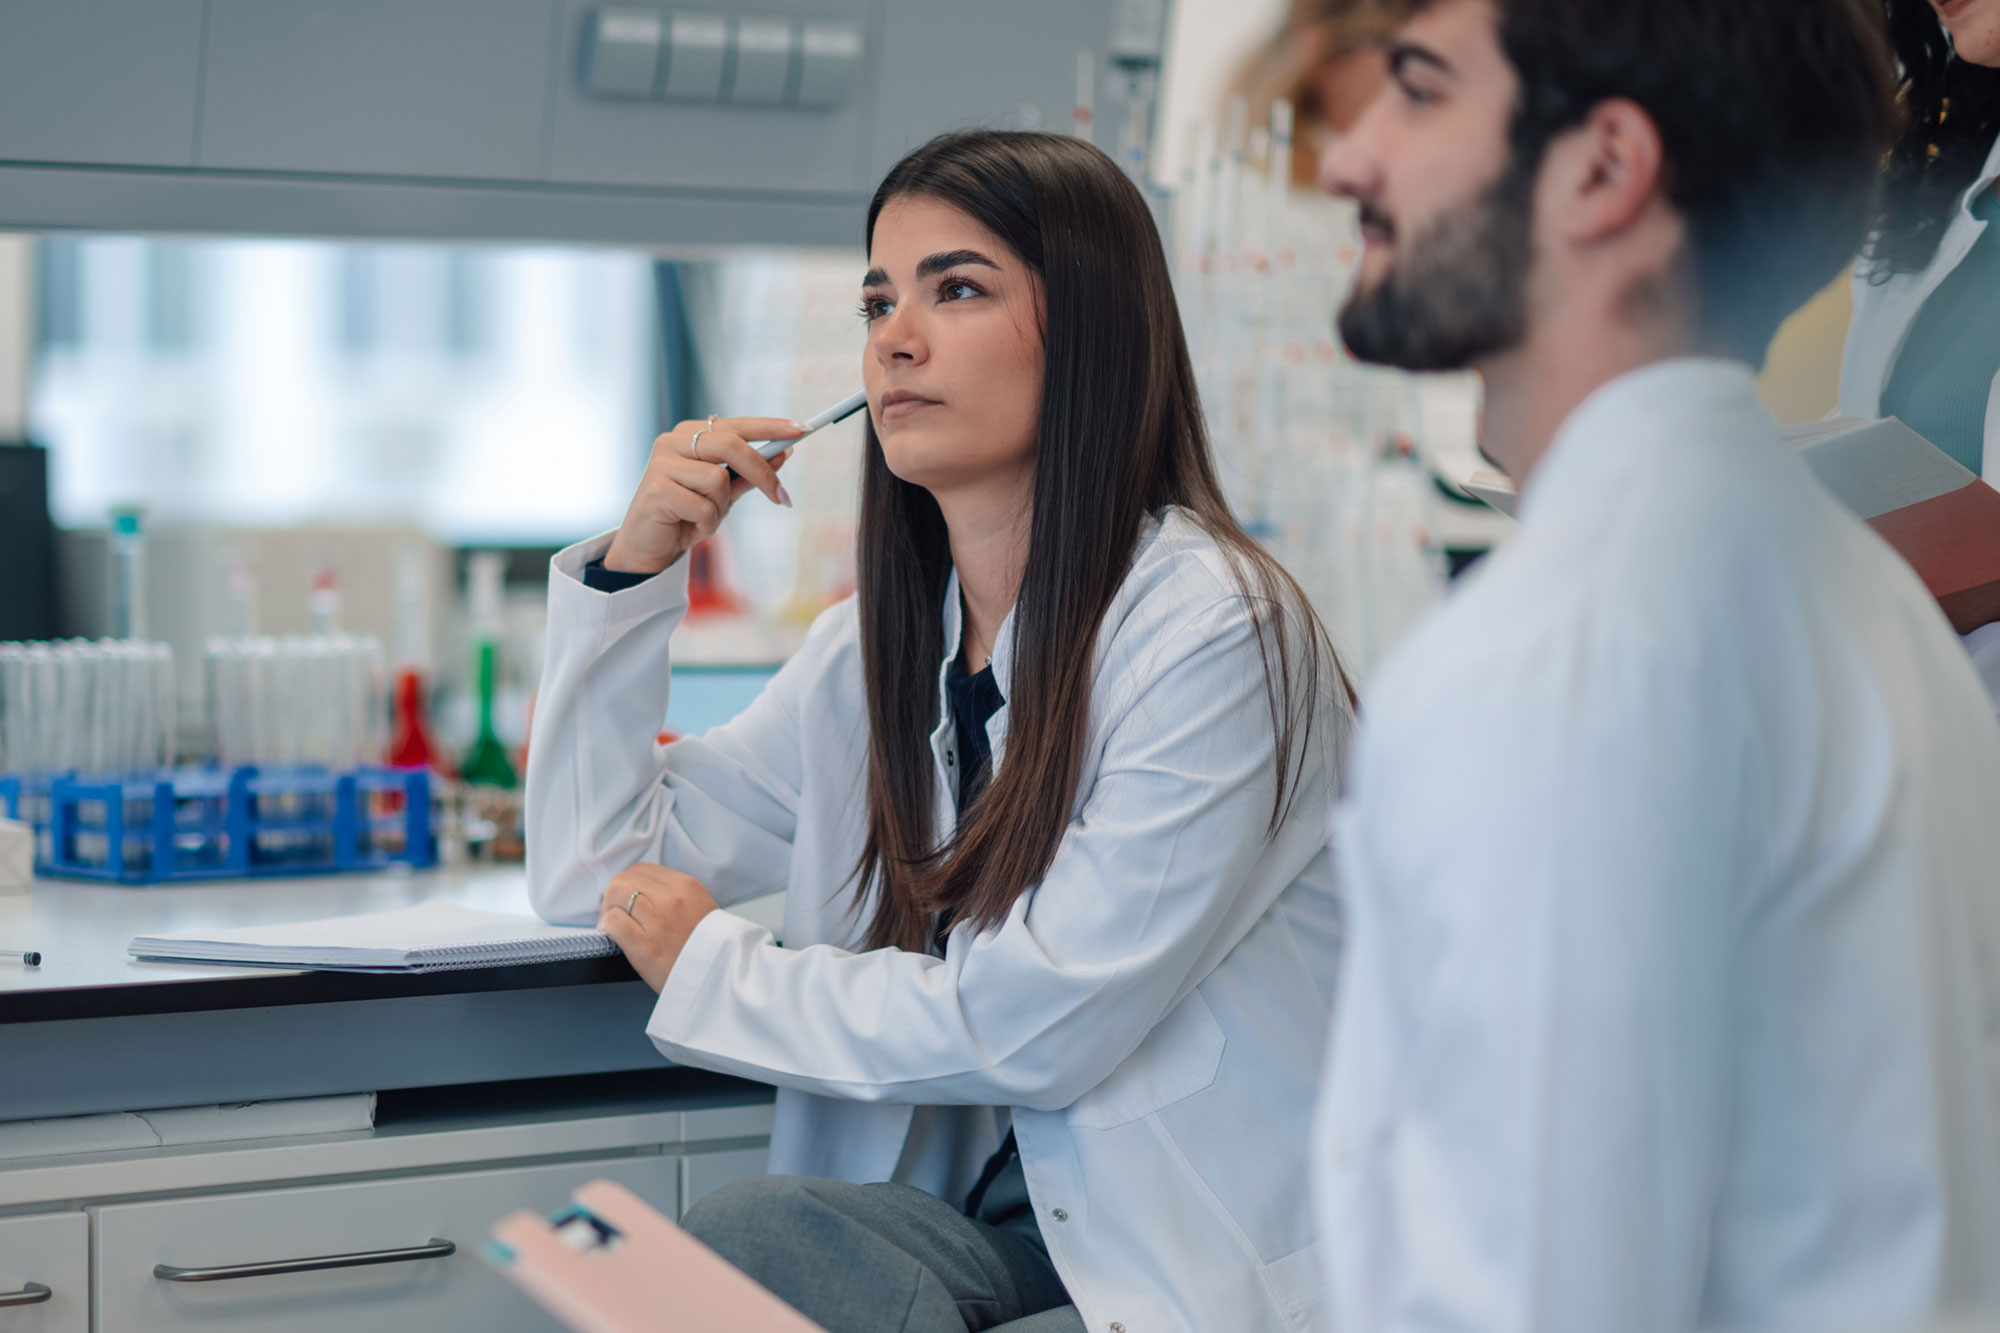
Name of the heading
The science of measurements has traversed a long distance since its inception. Several different quantification methods have been developed that are used in all the domains of physical, chemical and biological research. One amongst them is the technique of spectrophotometry that relies on the combination of 2 independent principles; spectrometry and photometry.
A spectrophotometer is a commonly used lab instrument in which one measures the amount of light absorbed by a sample in question. As the light passes through the sample, some part of it is absorbed by the sample while another part is transmitted. The instrument exploits the differential ratio of these two (absorbance and transmittance) to calculate the concentration of the sample.
Though the topics of spectrophotometry technique and spectrophotometer sound like an application-based and problem-solving incentives, students often fail to understand the science behind it. Teachers and educators dealing with the subject hesitate to solve their issues.
Read on to learn more about how you can ease the process of explaining this technique and instrument to students in your next class. We try to highlight all the issues encountered by students when dealing with the subject. We also list some practical solutions to solve the same. By the end, we’ll convince you why a virtual lab simulation will prove useful not only for your students but also for you as an educator to deliver concepts more efficiently.
There are three reasons why students feel challenged by the topic of Spectrophotometers and Spectrophotometry techniques. Acknowledging these issues is the first step toward making the topic more approachable.
The spectrophotometer instrument is an expensive one costing around $17,000 to $18,000. Students are often not allowed to individually handle this instrument at the high school and undergraduate levels. Deprivation of manual handling prevents them from having the opportunity to grasp how it works. Even teachers aren’t in a position to encourage students to play around with this instrument and learn more about its features due to the limited availability (usually 1 or 2 instruments on educational campuses).
Students fail to comprehend how light can be used as a tool to measure the concentration of a sample. Lack of knowledge about spectrometry, photometry, Beer-Lambert equation and selection of optimal wavelength are the major reasons behind this frequent challenge. Also, unawareness of the placement of different components (light source, collimator, digital display, monochromator, photoelectric detector, wavelength sector and cuvette section) inside the spectrophotometer leaves them in a guessing situation. The difficulty in understanding and calculating the absorbance and transmittance further aggravate the situation.
Besides the routine experiments in the lab, students are unaware of the utility of the spectrophotometry technique. This dampens their enthusiasm to learn more about the technique and equipment’s potential. Seldom are they told about the real-life utilization in clinical labs, R&Ds of FMCG industries, forensics and genetic testing institutions.
To address the problems encountered while teaching Spectrophotometers and Spectrophotometry techniques, educators can engage the under-listed solutions in their classes. These can clarify many instrumental aspects of the major techniques involved. Not only can they make teaching easier for educators like you but will also make lessons clearer and easier to assimilate for your students.
The hesitation of students around the spectrophotometers is legit as the technique works in the conjunction of 2 complex sciences; spectrometry and photometry. It makes the technique look magnanimous and beyond the caliber of students to learn and master.
A good way to begin is to incorporate stories and learning curves of the inventors of the technique in your class. It can humanize the science behind spectrophotometry. Nobel laureate Bruce Merrifield rightly said that the spectrophotometer is one of the most important instruments ever developed in the bioscience field’s advancement. But was it developed in the first go itself???
You can tell about the invention and evolution of the spectrophotometer by Arnold O. Beckman in the 1940s.
A.O. Beckman didn’t build his best and final spectrophotometer in one go. Yes, you heard it right! The first model (A) had some shortcomings (use of glass prisms leading to the inability to absorb UV light), so he had to improvise it and make a second model (B). But, even this model didn’t perform optimally as he expected, so he built another model (C) with adjustments to the wavelength resolution. Was he satisfied with this at least? NO, scientists keep improvising and that’s what Beckman did. He built another model (D) which is now widely known as the “DU spectrophotometer”!
We believe your students will keep less overwhelmed after hearing about Mr. Beckman’s trials and optimization experiments and that’s what science is!
Figure: Snippet showing assembled spectrophotometer. It is available in the Spectrophotometers simulation by Labster for High School courses.
Before explaining the protocol to use the spectrophotometer machine, it’s important that your students can make out the meaning of the technique. For this, try to emphasize the following topics.
1. Beer-Lambert’s Law: Explain the concept of ‘absorbance’ and ‘transmittance’ of light. After your students under the meaning of these 2 basic terms, move on to explaining how the absorbance of a solution can reduce the transmittance of light through it. Then explain how based on the difference in the transmittance between a “blank” and a “sample solution”, a spectrophotometer can estimate the “concentration of the sample solution”. And this is what Beer-Lambert’s law states! We recommend teaching topics like these by breaking down complex terms, individually explaining their meanings and value and then framing an idea connecting all of them!
2. Roles of different components of the spectrophotometer: Explain the constitution of the equipment so that the students can relate to the underlying principle of technique. Explaining the roles of these components is also important (like ‘collimator’ ensures that the beam of light is straight when it’s transmitted or ‘wavelength sector’ ensures transmission of only a selected wavelength of light; 260 nm for DNA, 280 nm for proteins, and likewise). You can also use the Spectrophotometers simulation from Labster in your next class. As your students go under the hood of the spectrophotometer and solve the puzzle of how its components fit together, they can get more accustomed to the instrument. Since this is a virtual lab, students can explore the instrument without worrying about mistakes! They can try out different configurations and see for themselves how that impacts the light path used to measure a sample.
Similarly, educators can focus on the core concepts that should mandatorily be strong before the students start dealing with the technique in labs.
Students rarely know the real-world applications of the spectrophotometry technique. Such ignorance makes their learning trajectory dull, thus dampening their research vigor. Educators should inform their students about the uncountable important discoveries in chemistry, life sciences, and beyond where this technique has played a major role.
It is widely used in:
This can make your students think out of the box and motivate them to learn techniques that hold the potential to advance their research.
The entire point of teaching the protocols to our students shouldn’t just be limited to examinations and tests. Educators can go the extra mile and teach students how to integrate the spectrophotometry technique into their research projects. We are quoting a few examples that you can use.
This will help them learn the technique with passion and then apply it in their research.

Figure: Snippet showing how enzyme kinetics is studied using spectrophotometry technique. It is available in the Spectrophotometry technique simulation by Labster for High School courses.
Since Spectrophotometers and Spectrophotometry techniques are some complex topics for high school students, utilization of interactive and fun-based methods is highly recommended. Also, expensive machinery is seldom left at students’ disposal. To overcome the common problems, Labster has developed a similarly enjoyable substitute, Spectrophotometers simulation and Spectrophotometry technique simulation that you can utilize in your upcoming lessons.
We bring virtual laboratory simulations that can ease your process of lecture delivery and lab handling sessions. You can make more insightful points as students are rendered with better visual options. The 3D simulations help them understand the intricacies of the instrument as well as the technique.
Our gamification elements are helpful. By using this way of active and immersive teaching, our virtual learning platform takes an advent in the field of Science to make the upcoming scientists thorough with the “basics of their respective subjects.”
You can learn more about the Spectrophotometers simulation and Spectrophotometry technique simulation from Labster here or get in touch to find out how you can start using virtual labs with your students.

Figure: A snippet showing the disassembled components of the spectrophotometer. As your students assemble the unit, they’ll learn about each component of the spectrophotometer. It is available in the Spectrophotometers simulation by Labster for High School courses.
Lorem ipsum dolor sit amet, consectetur adipiscing elit, sed do eiusmod tempor incididunt ut labore et dolore magna aliqua. Ut enim ad minim veniam, quis nostrud exercitation ullamco laboris nisi ut aliquip ex ea commodo consequat. Duis aute irure dolor in reprehenderit in voluptate velit esse cillum dolore eu fugiat nulla pariatur.
Block quote
Ordered list
Unordered list
Bold text
Emphasis
Superscript
Subscript
See our plan options, learn more about virtual labs, and find out how easy it is to get started with Labster.